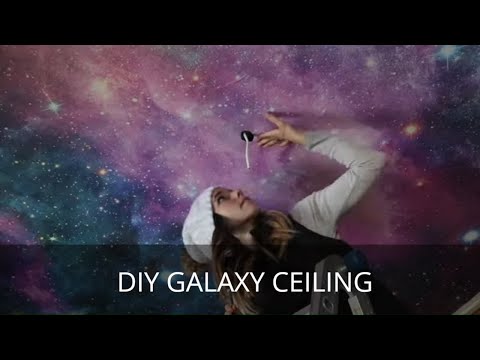
Whimsical Glow-in-the-Dark Girl’s Galaxy Bedroom
When my son Liam was born, my daughter Lily moved into a new bedroom! I wanted to do something special for this room because she wanted it to be galaxy-themed. I transformed an boring room into a whimsical glow-in-the-dark girl’s galaxy bedroom!
This post may contain affiliate links or sponsored content. For full disclosures and practices, please visit my policy page.
Table of Contents
- Placing Panels of Wallpaper
- The wallpaper I used!
- Cleaning Up the Edges
- Installing Crown Molding
- Installing the Light Fixture
- The chandelier I installed!
- Finishing Touches and the Final Product
Placing the Panels of Wallpaper
I am using this cool galactic scene peel-and-stick wallpaper to create this galaxy ceiling. The dimensions of the wallpaper are not big enough to cover the entire ceiling, but I decided to add some molding around the edges and it will look just fine. Installing this is an extremely difficult process, getting all the seams to line up would be easier on a wall. When I get to the panel that has to go around the wiring for the light, I cut a hole so the wire can pop through. Many of my seams ended up not being hidden enough, so I had to pull the sticker off and replace it multiple times. When I got my husband’s help the project got much easier, I would recommend doing this project with two adults. The best way that I found to have a crease and bubble-free finish is to use a towel to press the sticker down.


Even though this wallpaper installation has been very stressful and difficult, I think it was worth it! I wanted to give my daughter her dream bedroom and this ceiling definitely made that dream come true.

Cleaning up the Edges of the Ceiling Design
Once all of the panels were placed I went in with a little Xacto knife to cut off the label from the one end of the sticker. The side that the sticker is on is the side that I have the most space between the sticker and the wall, so I have to be very precise. I do not want to take off more of the image than I have to.

Crown Molding Installation
To install crown molding I have to install blocking behind where I will be installing the molding. I am doing this on my table stall, ripping furring strips down to an inch and a quarter with my Grr-Ripper. Once my blocking is installed I have to install the crown molding. This was much more difficult than I anticipated. I have to angle the molding steeper than a 45-degree angle. This is so I get it to cover enough of the mural so the plaster ceiling is not visible.


Light Fixture for the Glow-in-the-Dark Girl’s Galaxy Bedroom
To install the light fixture, I start with my Xacto knife. I cut my sticker wallpaper to a large enough hole so I can access the light receptacle. After I have the hole cut to size it is time to install the light fixture. I chose this amazing chandelier! I think that this chandelier looks like a sunburst and it goes so well with the galaxy ceiling.

Finishing Touches
As a finishing touch, I am going to add glow-in-the-dark paint. I am painting this over some of the major stars in the mural to liven it up, even when it is dark! This ceiling is such a showstopper and my daughter loves it! If you loved this room transformation and want to see more, start on my bedroom makeover!


