How to Reupholster Chairs
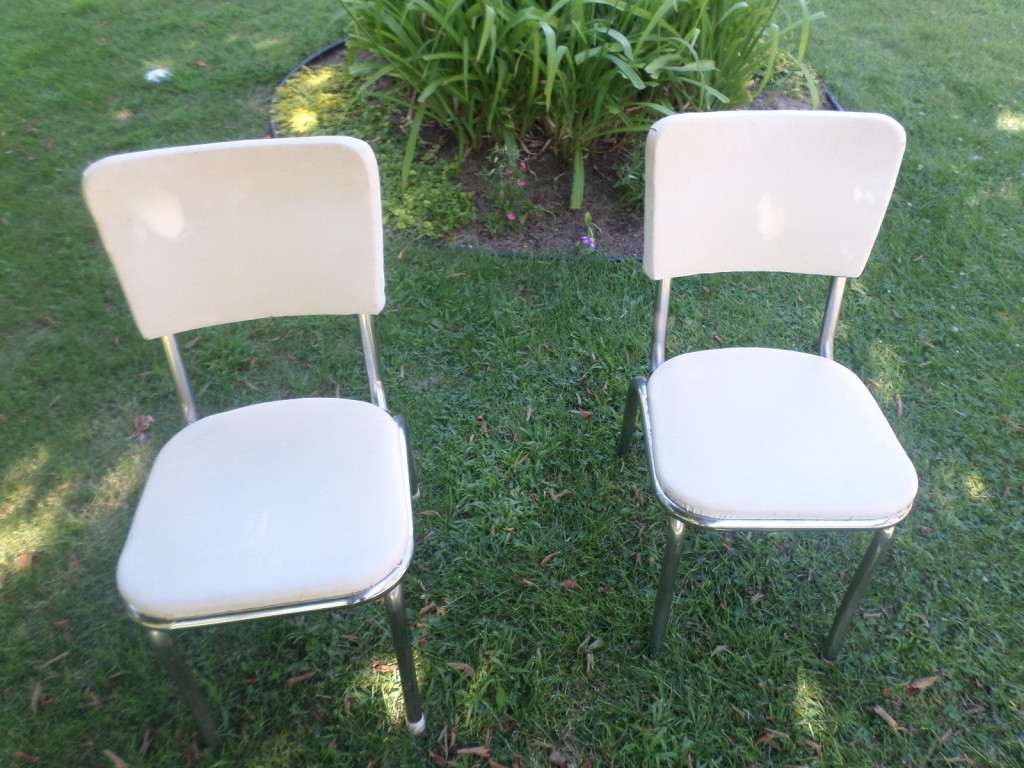
This past week, my friend Jayden asked for some help with two chairs she picked up for SUPER cheap at Savers. Like $3 a chair! Unfortunately, they were really dirty. The chairs were from the mid-century (I think 60’s) and had metal frames with vinyl seat pads. The vinyl was worn and dirty to the point of no return. The metal frames were a little rusted, but still salvageable. Jayden and I planned to use my new air loaded staple gun to reupholster these bad boys! I didn’t know how to reupholster chairs when we started the process, so we were certainly learning as we went.

The first step was to take apart the chairs. Before purchasing a chair as a reupholstery project, be sure to check that you will be able to disassemble the parts that need new fabric.

Jayden took to cleaning the metal frames with soapy water and a scrubber sponge. It worked great!

Meanwhile, I started ironing out the folds in our new upholstery fabric. This process took forever, especially when you’re crouching on the garage floor next to a pile ‘o sticks.

We didn’t remove much of vinyl. In order to keep the surface of the chair pads smooth, we decided to reupholster over it.
First we tackled the top seat pad. Laying our fabric out flat, we cut a piece the right size. We covered the front in fabric and stapled it onto the back. The corners took some time to master, we just did our best.

Then we used a piece of stiff paper (or thin cardboard) cut to the size of the chair pad to cover the backs. We wrapped it in fabric and hammered it into the back of the seat pad with decorative nail heads.

I know it’s not perfect, but this was the first time I’ve ever reupholstered anything! I’m sure in the future I’ll do bigger and better things, but you have to start somewhere. Now I know how to reupholster chairs! At this point Jayden was so excited by how cute the chairs were turning out, she paused for a selfie with my 3 year old, Lily.

We did the chair bottoms in a jiffy, just stapling fabric to the bottom and reattaching them to the metal frames. Even the metal was looking better after Jayden scrubbed it.


We also replaced those little rubber bottoms you see on the legs.
All in all, this project was a success! Jayden loves her new chairs and doesn’t have to deal with them dirty or rusty or grimy anymore.

