Distressed Wood Sign DIY Tutorial
This weekend I painted a distressed wood sign for my home and blog. It will work nicely in my house’s décor because “welcome to the woods” makes sense to welcome guests to our home; our last name is Woods. It will also work nicely to display in the background of my videos because it is, of course, my blog’s name! Here is the step-by-step tutorial for how I made it!
I started with a scrap piece of plywood. This one even had a splotch of bird poop, lucky me!
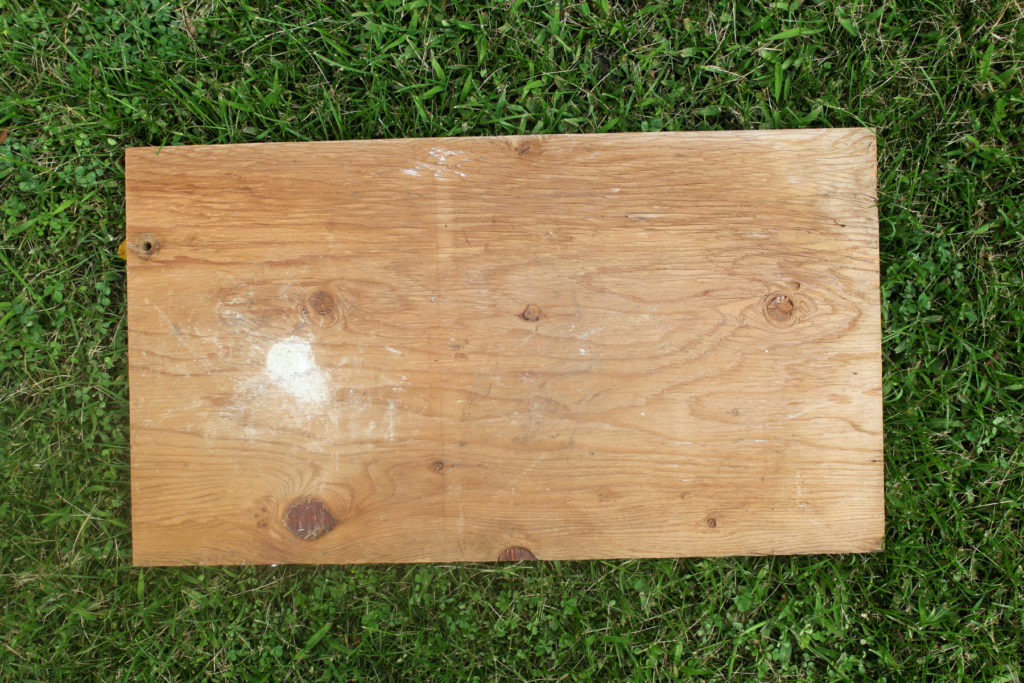
The first step was to sand this piece of wood all over with a rough sandpaper; I used 60 grit![]() .
.

After that, I wiped it down with water and a rag. Then I let it dry and applied white paint.
[the_ad_group id=”8″]

Click to see my absolute favorite paintbrush![]() and get one for yourself!
and get one for yourself!
Since this wood sign will get light use and I am going for a distressed look anyway, I did not feel the need to use a primer. I just slapped some white paint on in streaks. Also, I did not cover the whole piece of wood; I left edges splotchy for a more weathered look.

The next step was the measure out my letters to be sure everything was centered and spaced evenly. Then I used a pencil to sketch an outline of what I wanted to write.
[the_ad_group id=”8″]

Instead of paint, I had more control with hand lettering using just a black paint pen. This set of Sharpie brand paint pens is my go-to for hand lettering. You can get them cheaper on Amazon than in the store!
[the_ad_placement id=”middle-of-post”]
After the lettering was done, the final step was to distress further. I used the 60 grit sandpaper again to distress areas of the sign between the letters, even over the letters in some circumstances.

I also dipped a rag in espresso stain![]() and colored the areas of exposed wood, wiping off the excess.
and colored the areas of exposed wood, wiping off the excess.

Lastly, I installed eye hooks![]() on the sides of the sign for hanging wire in case I want to hang the sign on the wall.
on the sides of the sign for hanging wire in case I want to hang the sign on the wall.
[the_ad_placement id=”middle-of-post”]

When the hooks are on the sides, it adds to the rustic feel of the sign and prevents the hardware from protruding into the wall.

This sign matches very well with the other white, weathered sign I have in our living room: my sign displaying our 13 family values made from pallet wood.

I like it displayed leaning on the shelves I recently built.

Now I can use this distressed wood sign to display my blog name during live craft demonstrations on my Facebook page as well as to welcome guests into our home. If you would like to see more of my DIY videos, subscribe to my Youtube channel!

Thanks for reading about my distressed wood sign! I hope you will connect with me on your preferred social media channel or subscribe to my newsletter in the green bar below!
I also wanted to share some images of another cute name sign I used this same distressing technique on.


For your convenience, this blog post may contain affiliate links. Read my full policies and disclosures here.

Did you use stencils? Or is that free-hand?
It’s freehand, I did use a ruler to measure it out though!
I need to learn how to free hand letters. Where can I learn??
Hi Liz! I am self taught with many years of practice. You can watch Youtube videos to get basics, but I would recommend just putting in the time to practice. Visualizing spacing and keeping a steady hand come in time. I like to use the website canva.com for different font combinations and ideas! 🙂 Good luck!
Melissa
I watched a video of you painting on an old window and I am so excited to try this. What kind of glass markers do you use? I have been checking Amazon and there are so many different ones. Can’t wait to check out more of your projects . You explain everything so well and make it look so easy. You keep crafting and I’ll keep watching!!!
I used regular dry erase markers for the front and then when I flipped it over and painted, I used a window chalk marker. This one on Amazon to be exact (aff link) http://amzn.to/2yvdk7U
Thank you for the compliment, Kay! I hope you subscribe to my email list and follow along 🙂