Wooden Window Pane Photo Display
I received this old wooden window from my sister Anne because she thought I could do something fun with it! Since it has three panes of glass, I knew right away I would use it to display photos of my three beautiful children. Here is how I made a wooden window pane photo display with a classic look.
[the_ad_group id=”8″]

The window started out as raw wood. I cleaned and sanded it and then applied Minwax stain in a dark brown color. I simply used a polyester brush to apply and then wiped away the excess stain with a dry rag.

When the window was all stained, I cut white matte boards to fit inside the panes of glass.

Then I simply taped the black and white photographs to the white matte board. I had to cut everything to a custom size to fit, but that was easy on my awesome paper cutter!
Watch the video tutorial showing each step to this easy craft below:
[the_ad_group id=”8″]
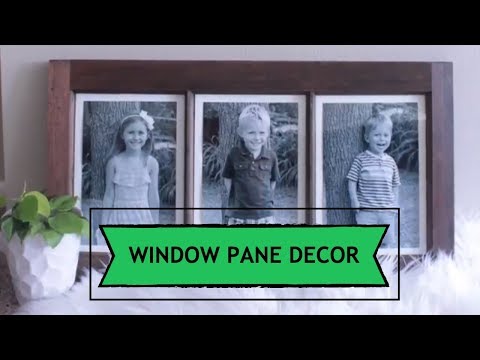
When I was finished, it looked like this:

Another thing you could do is use my technique for writing on glass to decorate this window with a phrase or names.

If you have a window you would like to decorate with, visit my tutorial for restoring an old wooden window that is in rough shape!

[the_ad_group id=”8″]
These three cuties look classic in black and white and I could not be happier with how my wooden window pane photo display turned out.

Thank you for reading and do not forget to pin these images for inspiration in the future!

Stay tuned for more crafts and projects! I am so excited to share my fall decor with all of you the first week of September!
For your convenience, this post contains affiliate links. Please read my full disclosures and policies here.

This is absolutely beautiful, your children are so sweet! Is the glass still in the frame? It is hard to tell in the pictures.
Yes the glass is in the frame! Thank you so much Lori 🙂